WordPress Writing Settings Tutorial
How to manage the writing settings in WordPress
In this tutorial we'll review the writing settings that you can configure from the admin panel of your WordPress. To access the screen with these settings, after you log in go to Settings menu>Writing sub-menu:

Now let's go over the different settings.
Formatting
This group of options consists of two checkboxes:
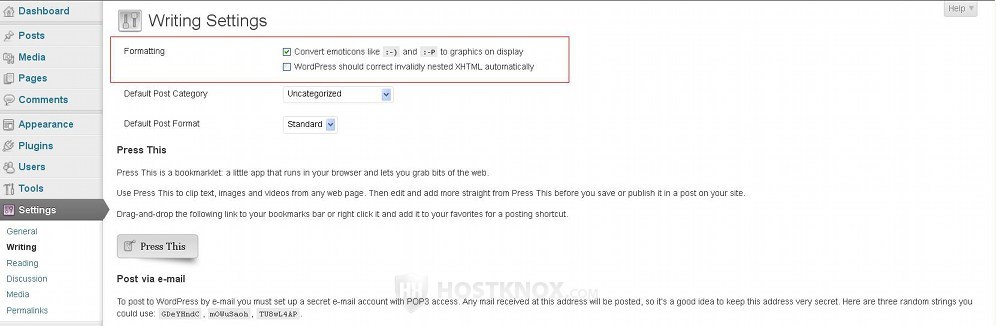
These checkboxes are:
- Convert emoticons like :-) and :-P to graphics on display - this checkbox is marked by default which means that the so called smileys are turned automatically into graphics. So when, for example, :-) or :) is typed in the content of a post or in a comment to a post, a corresponding image is displayed on the frontend instead of the textual representation. If you disable this option, the typed smiley will appear in exactly the same way on the frontend; no smiley picture will be used to replace the text smiley. The images that are used come prepackaged with WordPress. Assuming that the application is installed directly in the public_html directory on your WordPress hosting account the path to the folder containing the smiley images will be public_html/wp-includes/images/smilies.
- WordPress should correct invalidly nested XHTML automatically - this checkbox is unmarked by default. You shouldn't have any problems if this option is left disabled. If you want to ensure that the content of your posts is valid XHTML code, mark this checkbox. HTML (and its extended version XHTML) is the language used to write and display web pages.
Default Post Category and Default Post Format
Under the formatting options there are a couple of drop-down menus: Default Post Category and Default Post Format.
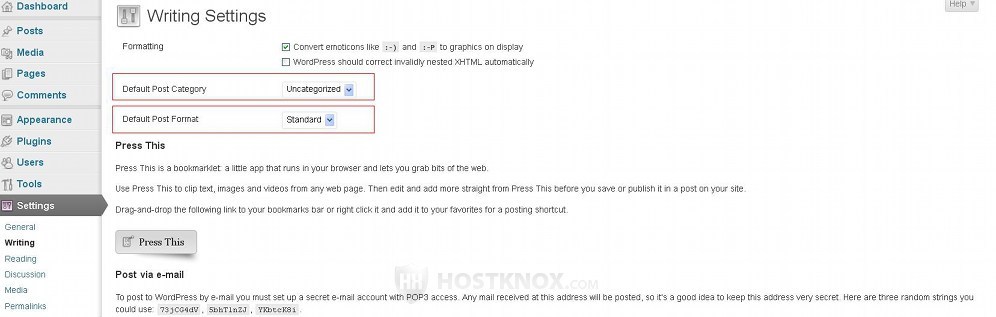
- Default Post Category - by default, it's set to Uncategorized. This is the preconfigured category that comes with a new WordPress installation. From this drop-down menu you can select any of the categories that you've created. When you create a new post you can select the category which you want the post to belong to. The drop-down menu from which you can do that will be automatically set to the default post category for your site. So if you don't change the category when writing a post, every new post that you publish will be added to the default category. From the Default Post Category drop-down menu you can change this default category. If you need more information on categories, check out the tutorial on how to manage categories in WordPress.
- Default Post Format - the format of the post controls how that post will be displayed on the frontend. The supported post formats that you can choose from depend on the currently active theme. The format can be changed when writing/editing a post; there's a corresponding drop-down menu from which you can do that. This drop-down menu on the add post form is set automatically to the default post format. This default format can be changed from the Default Post Format drop-down menu on the Writing Settings screen in the admin panel. By default, it's set to Standard.
As we mentioned, the post category and the post format can be configured per post on the form for adding/editing the post:

If you don't set the format and category, the default ones will be used.
Press This
Press This is an application that can be used to copy text from web pages and publish it as posts on your site. Of course, you can do the same thing without this application but it's designed to make the process quicker and easier. As the description on the screen says Press This is an application that runs in your web browser. To be able to use it you just have to add it to your bookmarks. To do this hover the mouse pointer over the Press This button, then click the right mouse button and from the menu that appears select the option for adding the link to your bookmarks:
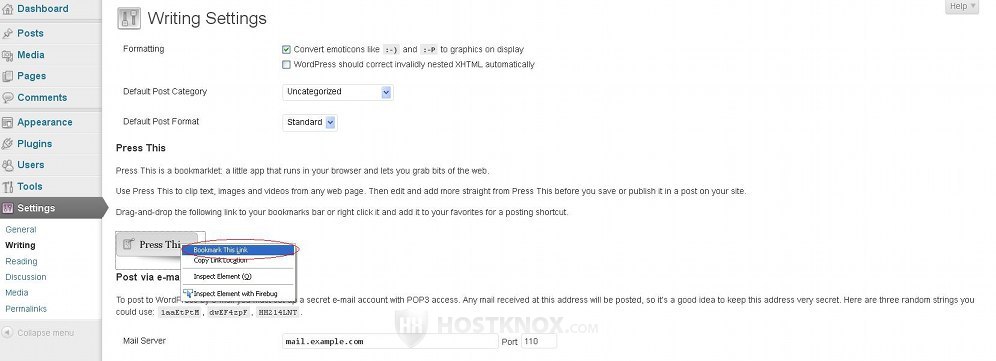
Another way to do it is to hover the mouse pointer over the Press This button, click and hold the left mouse button and drag and drop Press This into the Bookmarks menu that's at the top of your web browser window.
Using Press This itself is simple. When you visit a web page and you see some text that you want to include in a post on your site, just highlight the text with your mouse, then go to the Bookmarks menu of your web browser and click on Press This that's in the bookmarks list. The exact location of the bookmarks menu depends on the particular browser.
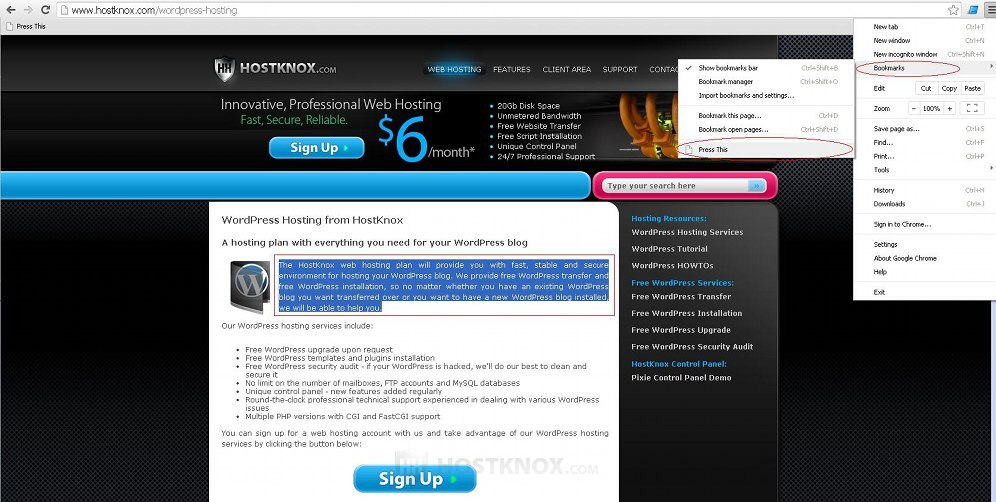
After you highlight something on the page and you click on the Press This link in the bookmarks a new window will automatically open. That window will display the WordPress form for adding posts and the content that you marked on the web page will be automatically included as content of the post:
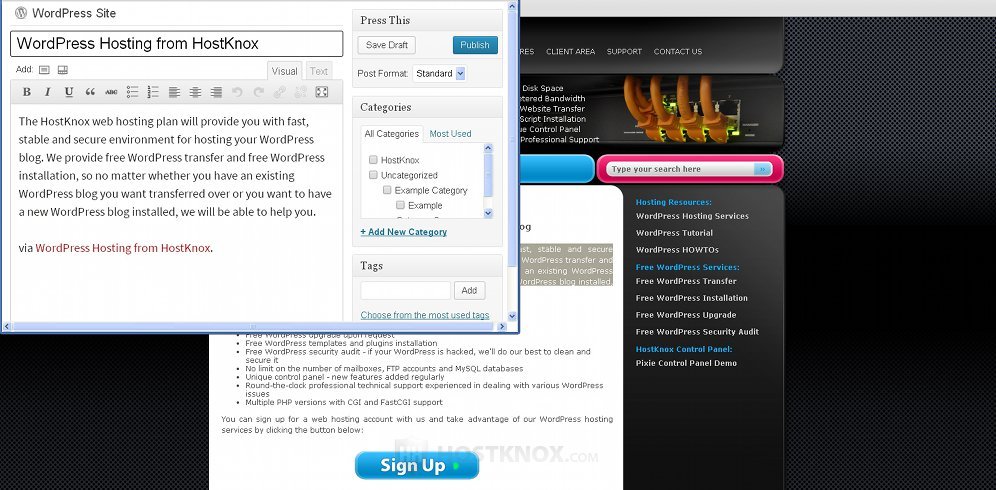
The title of the post will be filled in automatically with the title of the web page from which you copied the content. You can change anything in the content and title of the post, and you can assign it to categories and tags. In this window that pops out when you use Press This however some of the settings that are normally available on the add post form are not present.
Post via e-mail
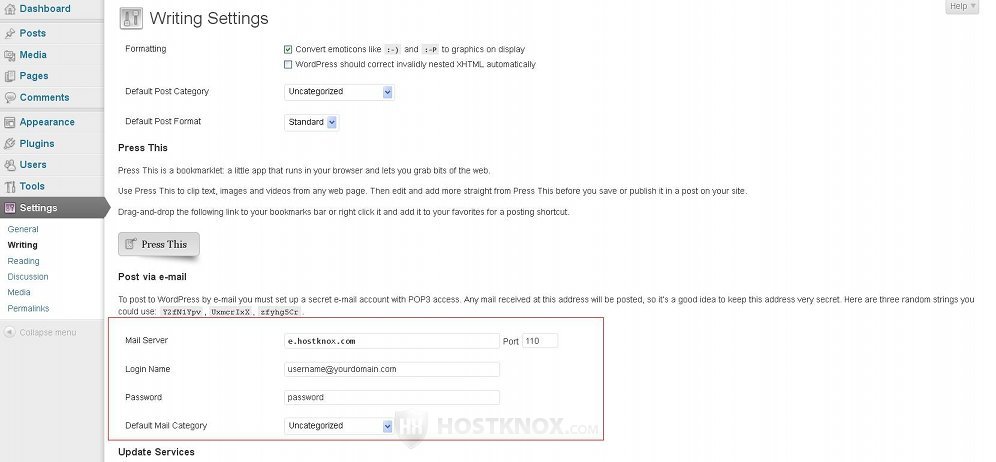
In WordPress you can publish posts via email. This, of course, is optional so you don't have to configure anything in this section. You can use this functionality to set up an email address that's used to publish email messages as posts on your WordPress site. Every email message that's received at this email address is published as a post. There are a few settings that have to be configured:
Let's go over the available settings:
- Mail Server - in this field you should type the URL address of the POP mail server. It's recommended to use an email address that you have created from the control panel of your hosting account. HostKnox clients can do that from the Email section of the HostKnox control panel. For more information check out the tutorial on how to create and manage mailboxes. The URL address of the POP mail server is the same one as the address of the server on which your corresponding account is hosted. In our example that's e.hostknox.com.
If you want the connection to be a secure one (through SSL/TLS), you should put ssl:// in front of the URL address of the mail server. So in our example we should put ssl://e.hostknox.com in the field for Mail Server.
Although it's possible to use a mailbox created from a web-based email solution such as Hotmail, Yahoo or Gmail, it's not recommended to do so. With some of these web-based mails you may find it very difficult even to connect to your email account through WordPress. Others require you to connect through SSL. If nevertheless you want to try and use such an email, you can find more information about the email server URLs, including POP, in the tutorial on how to set up an email client to connect to accounts in Yahoo, Gmail and Hotmail. - Port - by default this is set to 110 which is the correct POP port. If you use SSL you should change the port number to 995.
- Login Name - in this field type the full email address of the email which you want to be used for publishing post. It's recommended to create a separate email that's used only for that purpose because any email message received at this email address will be published as a post.
- Password - type the password of the email account.
- Default Mail Category - this is the category that's automatically assigned to new posts published via email. From this drop-down menu you can select any of the categories that you've created.
Another thing you should keep in mind is that since POP is used for retrieving the email messages, once they are downloaded to your WordPress the emails are automatically deleted from the email account.
Keep in mind that configuring the above options is not enough. To actually download and publish the email messages as posts on your site you need to execute the wp-mail.php file that's in the root WordPress folder on your hosting account. There are a few ways you can do this. Here we'll suggest perhaps the easiest one; the one for which you don't have to configure anything additional. You just need to open in your web-browser the URL corresponding to the location of the file on your WordPress hosting account. For example, if your WordPress is installed directly in the public_html folder on your account, the path to the file will be public_html/wp-mail.php. This in turn means that the URL that you need to open in your browser would be yourdomain.com/wp-mail.php. When you do this all email messages will be downloaded from the email address and added as posts on your site.
For other ways to download and publish posts via email as well as for some additional information check out the tutorial on how to publish posts in WordPress via email.
Note that by default the posts will have a Pending status so they won't be displayed on the frontend. They will be displayed directly on the frontend only if the email address of the sender of the downloaded message is also the email address of a registered user (e.g. an admin) who has the permissions to publish posts.
In general publishing posts via email is not the most reliable way to do it, so if you want to have full control over everything do it from the admin panel.
Update Services
When you create or update posts WordPress automatically informs update services. This is done with the so called pings. By default, WordPress is configured to send pings to the update service Ping-o-Matic which is one of the most popular and widely used ones:
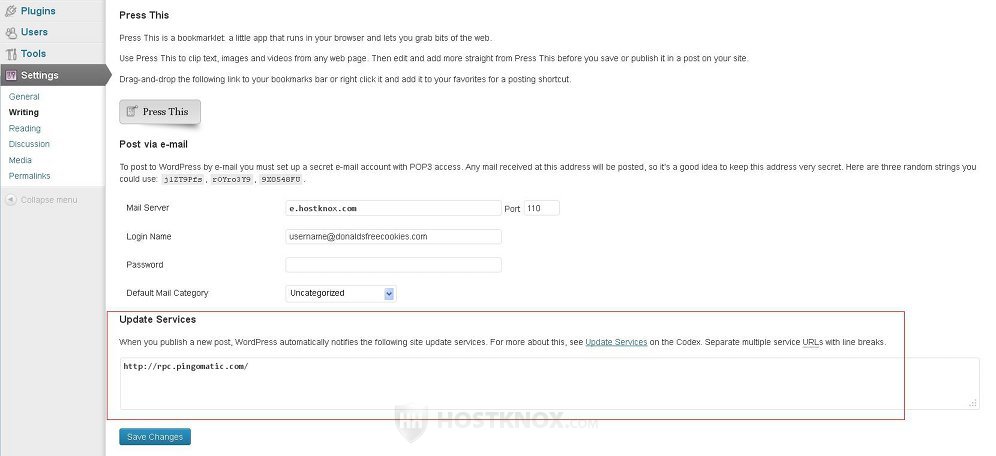
The URL address of the update service is listed in the text area by default so you don't have to do anything. It informs other update services and different search engines when there are updates on your blog. This will help in improving the exposure and ranking of your site.
If you want to, you can list other update services. Just put the URL address of each one on a new line in the text area.
Note that this option for update services is directly connected with the one for search engine visibility. If you discourage search engines from indexing your site, the Update Services option will be disabled and no update service will be listed there. If this is the case but you want to use update services, go to Setting menu>Reading sub-menu in your admin panel, find the option Search Engine Visibility and make sure that the checkbox Discourage search engines from indexing this site is unmarked:
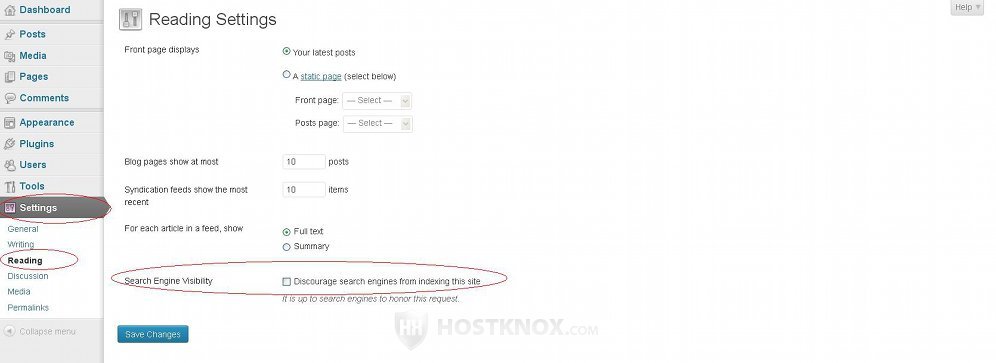
When the checkbox is unmarked the Update Services text area on the Writing screen will be visible and the URL address of the Ping-o-Matic update service will be automatically listed.
If you make changes to any of the options don't forget to click on the Save Changes button at the bottom of the screen.