WordPress Themes Tutorial
How to install and use WordPress themes
You can change the design of your site/blog by using different WordPress themes. They can also change how everything on your site is displayed, since there are themes with different number of columns, sidebars, etc. There are hundreds of themes you can choose from and also, if you like, you can further modify each theme once you've installed it on your WordPress site. And as WordPress itself, themes can be downloaded and installed free of charge.
Installing and managing WordPress themes is easy. There are a couple of ways to install new themes: using the administration panel's built-in installer or by manually downloading the theme from the official WordPress site and then uploading it to your hosting account.
One of the ways to install a new theme is through the administration panel. Log in to your Dashboard, from the menu on the left click on Appearance and then on Themes. At the top of the page you'll see the current active theme, depending on the WordPress version the default theme should be Twenty Eleven, Twenty Ten (or older versions):
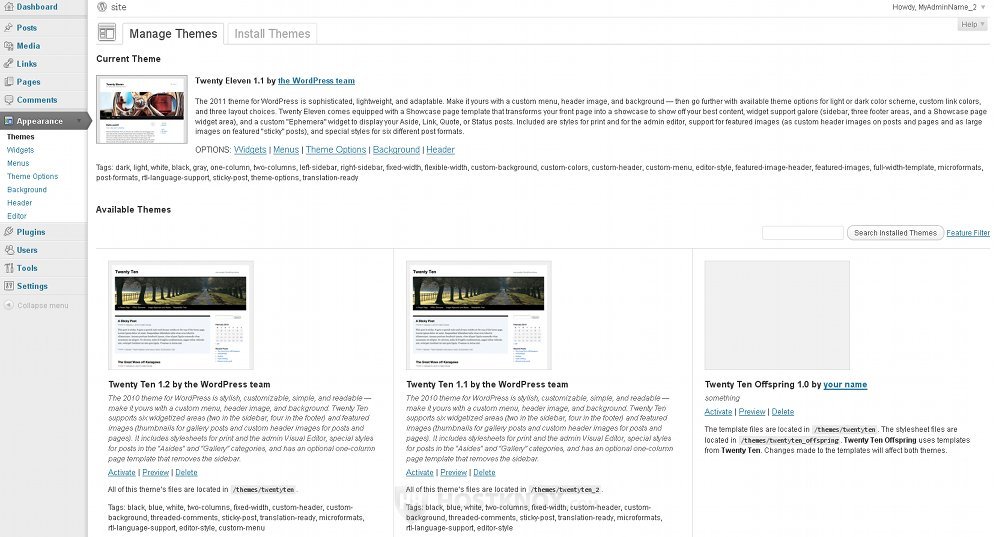
Below the current active theme are displayed the inactive (but installed) themes which you can activate to replace the current theme by clicking on the Activate link under the theme name.
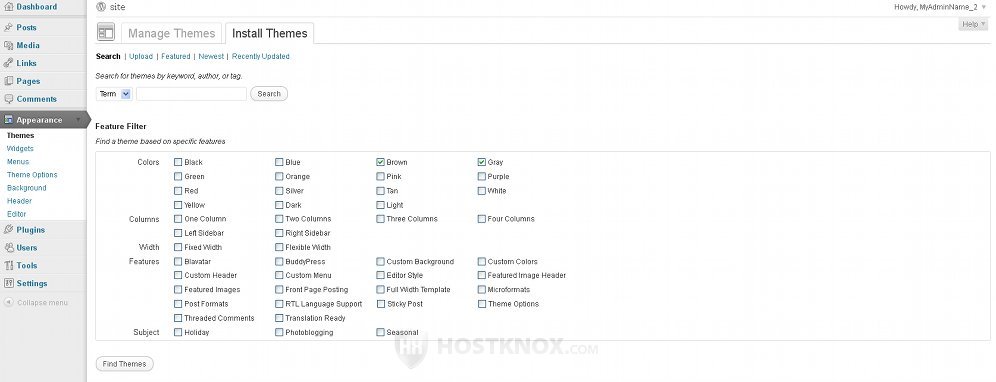
To search and install a new theme click on the Install Themes tab at the top of the same page. On the Install Themes page you can use the search box to search for specific terms, tags or authors, and you can also use the checkboxes to filter the themes according to color, number of columns, features, etc. In this example we'll filter the themes based on color, and we'll mark the checkboxes for gray and brown to find themes designed primarily with these two colors:
Then just click on the Find Themes button below the filters to see the available themes:
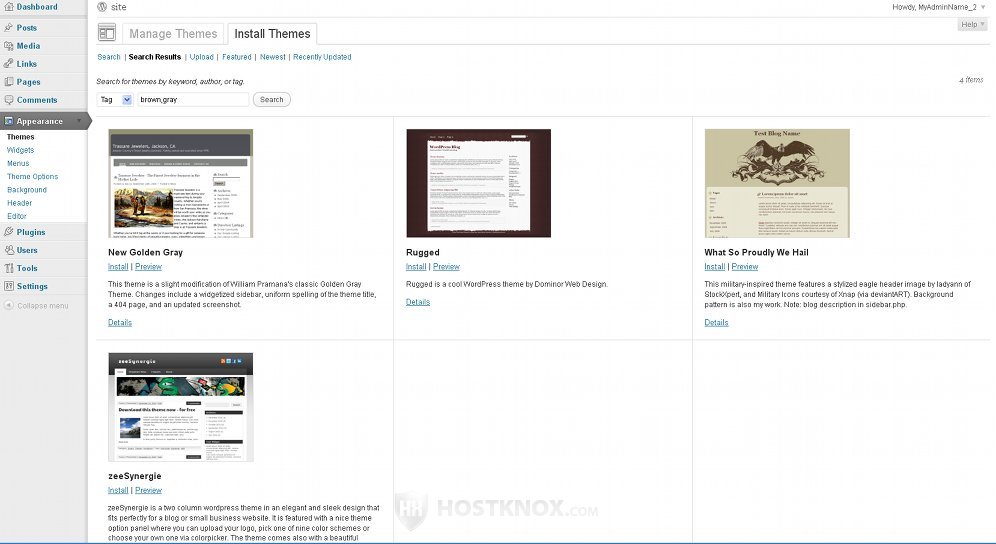
You can click on Preview under the name of each theme to have a better view of what it looks like, and it's also a good idea to click on Details to see its rating, version and if there's anything specific you need to know about the installation, compatibility, etc. When you see a theme you like and you want to install it, click on the Install link under the name of the theme and then on Install Now in the box that pops out. Once you've done this, you'll see a confirmation message that the theme has been successfully installed. In our example we'll install the theme Rugged:
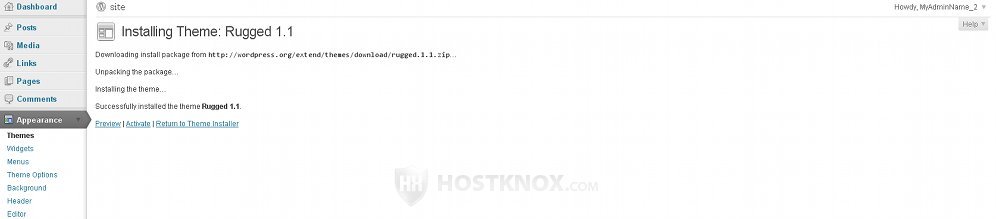
You can activate the theme directly by clicking on the Activate link just under the confirmation message, or you can go to Appearance>Themes and activate the theme from there. Any time you want to switch your current theme with another, or download a new one, you can do it form Appearance>Themes.
The other way to install a new theme is to do it manually. Go to the themes section of the official WordPress site to find a theme you like. Don't forget to read the details about the particular theme to see if there is anything specific you need to know.
Then download the zip archive on your local computer and unzip it. After that, using your favorite FTP client or through SSH, upload the whole unzipped theme folder to the themes folder of the WordPress installation on your hosting account. For example, if your WordPress files are in a folder called wordpress the path where you have to upload the new folder would be public_html/wordpress/wp-content/themes. After you upload the new theme you have to log in to your Dashboard, go to Appearance>Themes and activate the theme by clicking on the Activate link below its name.