WordPress Upgrade Tutorial
How to upgrade WordPress
In this tutorial we will show you how to upgrade your WordPress. It's a very easy and simple process.
If your version of WordPress is not up to date, you will see a message in yellow color at the top of your Dashboard.
The first thing to do is to make backups of the WordPress files on your hosting account and of the database used by your WordPress installation. This is a precaution in the unlikely event that something goes wrong during the upgrade. You can backup your files by downloading them on your computer with an FTP client (e.g. FileZilla) or through SSH. A backup of the particular database can be created by exporting it to you computer using phpMyAdmin (there is a link to it in the Databases section of the HostKnox control panel).
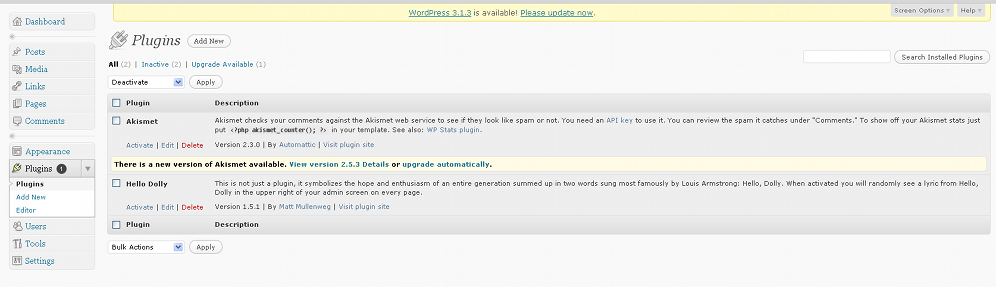
Another advisable thing to do before you start the upgrade is to disable the plugins (you can enable them after the upgrade) because some plugins may not be updated to work with the newest version of WordPress. You can do that by logging in to your Dashboard; then click on Plugins in the menu on the left, then you will see a drop-down menu, choose Deactivate and click on Apply just next to it.
There are two ways to upgrade WordPress. The first one is to use the Update section of your administration panel and the second one is to do it manually.
In order to use the automatic update click on the Update link, it's in the upper-left corner of your Dashboard's homepage, or on the link provided in the yellow update message at the top of the page. Then just click on the Update Automatically button and that's it.
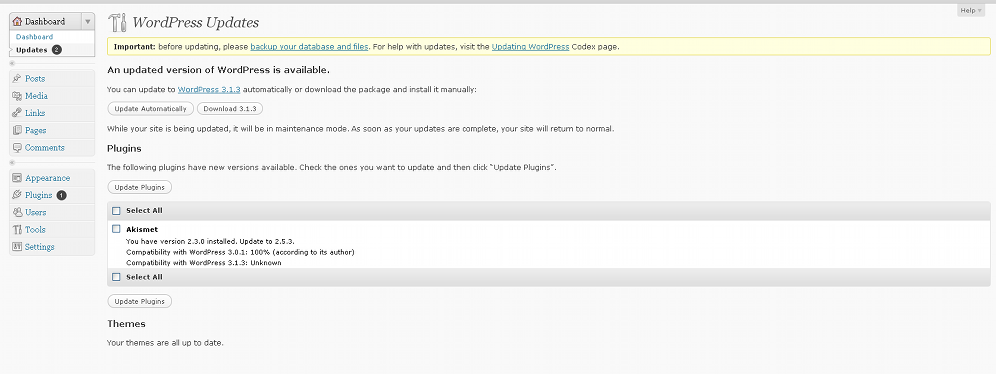
From the same page you can also see if there are any updates for your plugins and update them too.
If you have any modifications made to the core WordPress files and the theme (Twenty Ten) and plugins (Akismet and Hello Dolly) included in the original base package, and you haven't renamed them, they will be overwritten. In this case you have the options to use the automatic update and after that make the same modifications, or to upgrade WordPress manually.
What's meant by modifications is if you have made any changes to the code of the files themselves.
To upgrade manually the first thing you have to do is to download the last stable version of WordPress. You can do that from the Update section of your Dashboard or from the official site. After you download the archive on your computer you have to unzip it. Inside the unpacked root directory (wordpress) there are some loose files and three folders: wp-admin, wp-contents and wp-includes.
In the public_html folder of your HostKnox account you have the same directories in the root WordPress directory. Let's assume you have installed the older version of WordPress in a folder called wordpress, so that the path to the wp- folders would be public_html/wordpress/wp-admin, etc.
Using your favorite FTP client or SSH delete the whole folders wp-admin and wp-includes on your hosting account, and upload the same folders from the newer version you downloaded earlier on your computer. Don't delete the wp-contents folder from your hosting account, you just need to upload only the loose files from the wp-contents folder on your computer to the same folder on your hosting account. Inside the wp-contents folder are the folders for the plugins and themes, so if you have made modifications to them don't replace them with the ones from the newer version. Then you have to upload all the loose files from the wordpress root directory and that's it.
After you are done with the manual upgrade you may need to update your database too. In this case when you try to log in to your Dashboard you will see the following message:
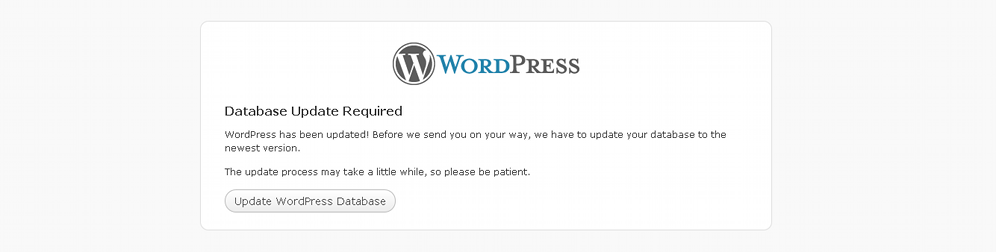
Just click on Update WordPress Database and you're done.
All HostKnox clients can take advantage of our WordPress hosting services and request a free WordPress upgrade at any time.