WordPress Spam Protection Tutorial
How to protect your WordPress from spam comments
Every blog is a potential target for spammers to submit unwanted comments to your posts. There are different ways to prevent such messages from appearing on your WordPress blog. Here we'll suggest some.
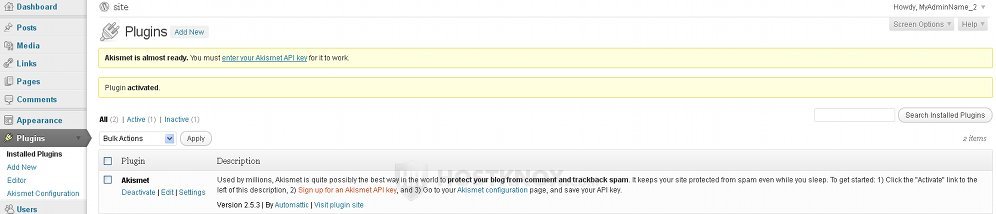
Every WordPress installation package comes with two default plugins: Akismet and Hello Dolly. Akismet is a plugin for blocking spam comments. In order for it to work you'll have to activate it first. To do this, log in to you Dashboard, click on the Plugins menu on the left and follow the Akismet plugin instructions. First, you have to click on the Activate link just below the name of the plugin:
After that you have to get an API key from Akismet's site. You can use the link in the plugin description (Sign up for an Akismet API key). Click on the link, and then on Akismet's site click on the button Get an Akismet API key. Then sign up for the desired plan. Akismet is free for personal non-business blogs.
After you get the key, go back to your Dashboard's Plugins section and either click on the link enter your Akismet API key at the top of the page in the yellow field, or on the link Akismet configuration in the plugin description to enter the API key:
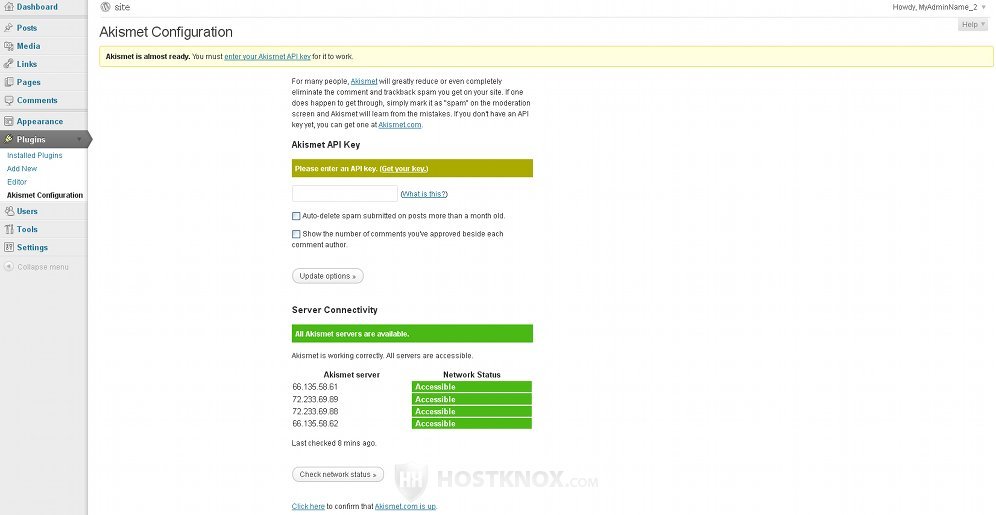
After you enter the API key, click on the Update options button. Once you're done, a submenu will be added to your Dashboard's Comments menu. There you'll be able to go through all the caught spam messages. It's not a bad idea to check it from time to time because there might be some comments that are not actually spam messages, but were sent there nevertheless.
When someone posts a comment on your blog, it's sent to the Akismet web service where it's tested and returned either as a legitimate message, or as a spam message and thus sent to the above mentioned new section of the Comments menu where you can review it and delete it, or restore it, if it's not actually spam.
There are also other plugins dealing with spam issues. If you want to find and install some other such plugins, search through the plugin section of the official WordPress site or from the Plugins>Add New section of your Dashboard.
It's strongly recommended to install a captcha plugin such as WP-reCAPTCHA or Conditional CAPTCHA. And also one of Project HoneyPot's plugins (WP-HoneyPot, Stop Spammer Registration Plugin, http:BL WordPress Plugin). You can install a plugin either using the Dashboard's automatic installer or manually. Check the tutorial on how to install WordPress plugins for general instructions.
Once the plugin is installed on your WordPress account, for most of the above-mentioned plugins you will have to get API keys from the plugin's site in order for the plugin to become fully active. The process is very similar to the one used for activating Akismet. Read the instructions for the particular plugin for more details. These are only suggestions, if you like something more it's up to you what to install.
The Discussion submenu of your Dashboard's Settings section offers various options for comment moderation:
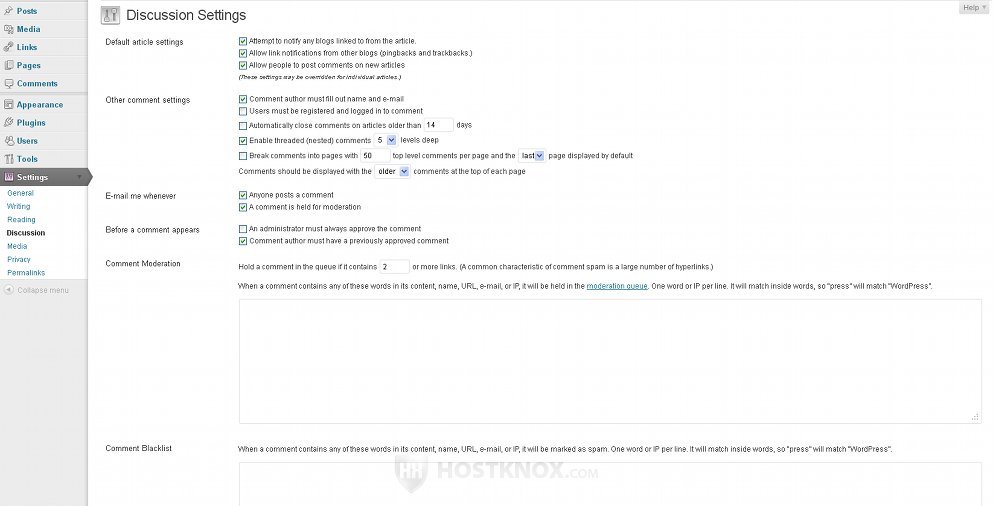
If you want to, you can set the options so that each comment posted on your blog is held in the moderation queue for your approval. You can allow only registered users to submit comments. You can set the number of permitted links in a comment; if the comment has more than the allowed number of links, it will be held in the moderation queue. The logic behind this is that spam messages often have many links. The more links there are on the Internet for a particular site, the higher it will be ranked by search engines such as Google. That's why spammers send to a great number of blogs comments containing hyperlinks.
From the Discussion Settings you can also use the Comment Moderation text field to type different words, expressions, IP addresses. When one of these words is detected in the text of a comment, or the comment is sent from an IP address you've listed in Comment Moderation, it will be held for the administrator's approval (yours).
The same goes for Comment Blacklist, the only difference is that the comments will be marked directly as spam. You should know that the words you type in Comment Moderation and Comment Blacklist have to be one word per line with a single space at the end of the line after the word and with no blank lines between them.
When it comes to IP addresses, you can also type just the first numbers to block whole networks. So if you type 78.123 all comments sent from IPs beginning with those two numbers will be held for moderation. After you make any changes, don't forget to click on the Save Changes button at the bottom of the Discussion Settings page. You can read a bit more about comments and the different options in the WordPress Comments tutorial.
As we mentioned, you can list IP addresses in the Comment Moderation or Comment Blacklist text areas. Comments sent from the listed IP addresses will be either held for your approval or marked as spam. This is useful if you suspect that someone sends you spam comments from a certain IP address (or many IP addresses). In this case you can also block the IP address from viewing your blog. Also useful if there's somebody you particularly dislike and you don't want them visiting your blog.
You can block IPs using an .htaccess file in the root WordPress directory. If you have uploaded the WordPress files on your account in a folder called wordpress then the path would be public_html/wordpress. If you don't have such a file there you can create it using the Files section of the HostKnox control panel (there's a link Create a File on the right side). You can also use a text editor (e.g. Notepad) to create the file and then upload it in your root WordPress folder using an FTP client or the HostKnox control panel. Inside the .htaccess file put the following rule:
Deny from <the IP address>
So if you want to block the IP 12.23.34.45, for example, you should put the following line in the .htaccess file:
Deny from 12.23.34.45
You can also use wildcards to block whole networks of IPs. Just put an asterisk (*) instead of a number:
Deny from 12.23.*.*
In the above example all IP addresses starting with 12.23 won't be able to view your blog. Sometimes spammers use other people's IP addresses to send spam, without those people's knowledge.
If you don't want people to be able to post comments on your blog at all, you can always disable them. Check the tutorial about disabling WordPress comments for more information.
Spammers use different techniques so it's possible that whatever measures you take, some spam might manage to sneak in. Still, if you take some of the measures listed above to prevent spam, it should be sufficient to stop most of it.