WordPress Posts Tutorial
How to manage posts in WordPress
A major function in WordPress is the one that enables you to publish and manage posts. Posts in WordPress are the equivalent of articles. They can be published and managed from the admin panel by the administrator and by any other user with the necessary permissions to do so. A distinction has to be made between posts, pages and comments. Posts are articles that are published and displayed on the frontend in chronological order; the newest one is displayed first and the oldest one is last. You can also add and publish pages. What's meant by pages is static pages such as an About Us page. They have their own content that's not made up by posts. For more information read the tutorial on managing pages in WordPress.
Comments can be written in reply to the posts on your site. Unlike posts and pages, comments can be published directly from the frontend of your site by any user/visitor, provided that comments are allowed. For more information on comments check out the tutorial on managing comments in WordPress.
In this tutorial we'll concentrate on the basic information related to adding and editing posts. For more details on the the various post settings and blocks that are available on the add/edit post form check out the tutorial on managing post settings and blocks on the add and edit post form in WordPress.
General Posts Screen and Options
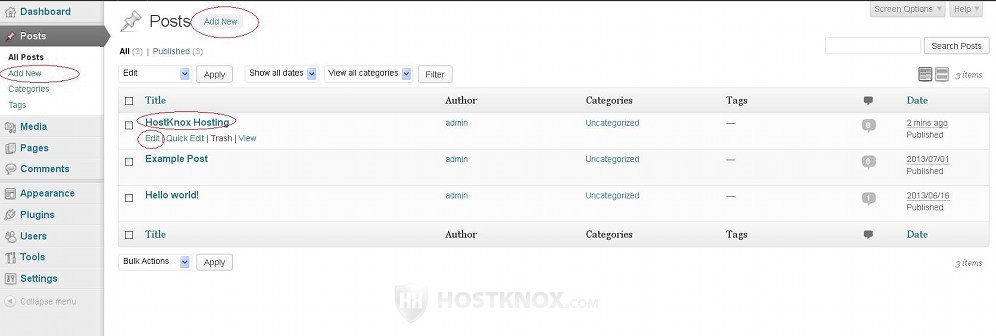
To add, edit and manage posts, log in to the admin panel of your WordPress and click on the Posts button in the left column. On the page that opens you'll see a table with the existing posts:
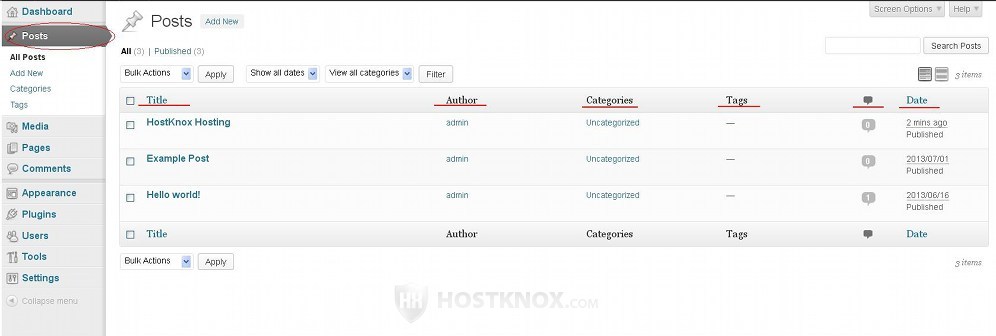
By default, the table is divided into six columns: Title, Author, Categories, Tags, Comments, Date. Each displays the corresponding information for each of the existing posts. Clicking on a name of an author, category or a tag will filter the posts in the table. For example, if you click on the name of a particular author (e.g. admin), only the posts added by that author will be listed in the table.
You can show and hide the different columns in the table (only the Title column can't be removed). To do this click on the Screen Options button in the top right corner of the page. A panel with some checkboxes will appear. To show or hide a column mark or unmark the respective checkbox:
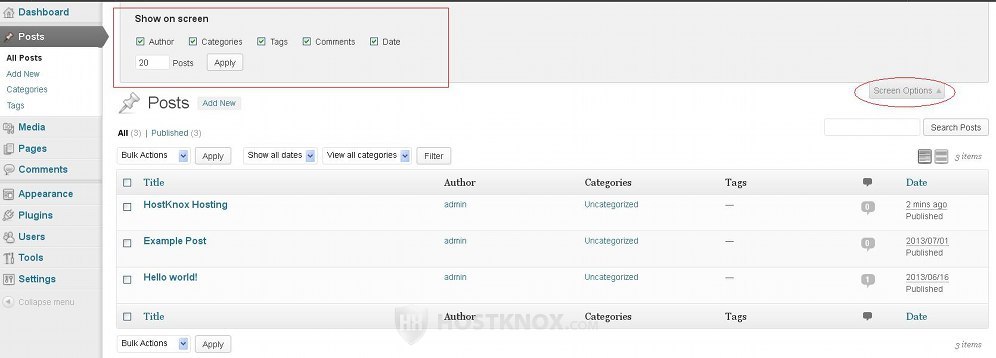
You can also change the number of posts displayed in the table per page (this is not the number of posts per page displayed on the frontend).
On this general page with the table with the existing posts you can perform various other things. You can mass edit posts and change the values of some of the attributes/options for many posts at the same time. To do this mark the checkboxes that are in front of the posts that you want to edit (to edit all posts just mark the checkbox that's next to Title in the upper left corner of the table). Then select the action from the Bulk Actions drop-down menu (you can select Edit or Move to Trash), and then click on the Apply button next to it:
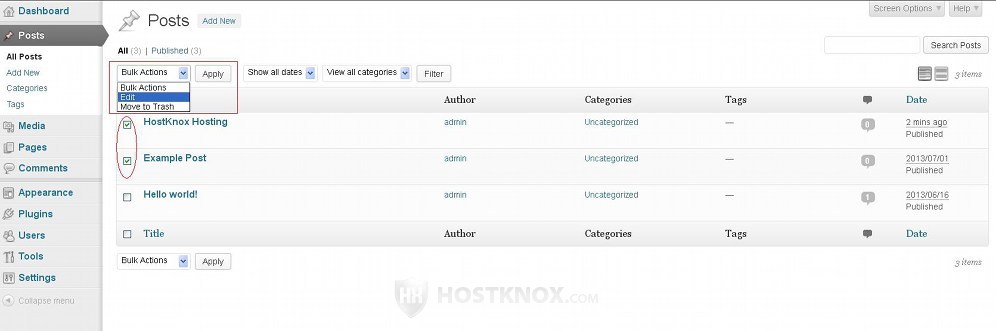
Once you select Edit and you click on the Apply button a panel will expand from which you can change some of the post settings:
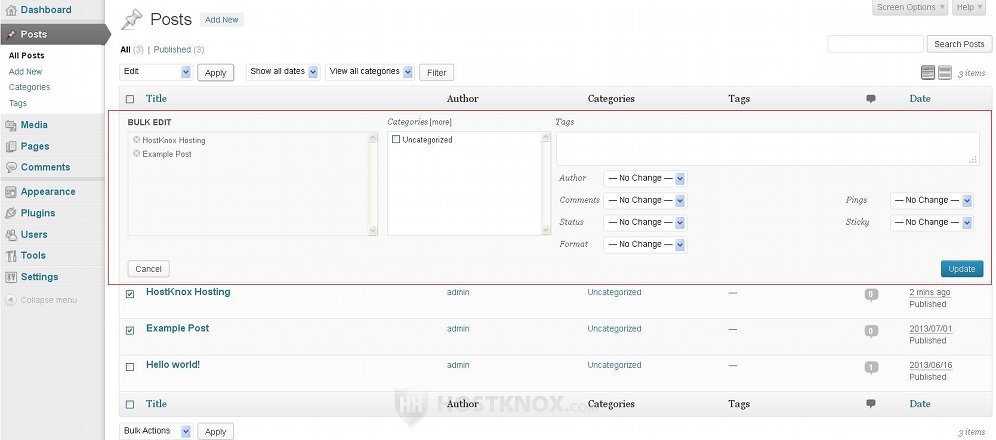
You can change the category to which the posts belong, add tags, allow or ban comments, change the status and format, change the author, enable/disable pingbacks and make the posts sticky (pinned to the homepage). If you make any changes don't forget to click on the Update button. The changes will apply to all the selected posts. These settings can also be changed per individual post when adding/editing the post.
When you hover the mouse pointer over a row in the table some buttons will appear just under the title of the post:

With the Trash button you can move the post to the trash bin. To view all posts that are in the trash click on the Trash link that's above the upper left corner of the table. On the following page you can either delete the post(s) permanently or restore it.
The View button will redirect you to the post's content on the frontend. The Quick Edit button will expand a panel from which you can edit the title, status, format and some other settings of the post. The Edit button will display the edit form on which you can change the content of the post and edit any of its settings.
Adding and Editing Posts
To edit a post, once you go to the Posts section in the admin panel click either on the title of the post or on the Edit button that appears under the title when you hover the mouse pointer over its row in the table. To add a new post click either on the Add New button that's above the table or on the Add New button that's in the menu on the left:
On the add/edit form there's a big text field for the title of the post at the top of the page. Under it there's a built-in text editor which you can use to type and format the content of the post. You can use the various buttons at the top of the editor to make the text bold or italicized, to insert ordered and unordered lists, to move the text in the center or to the left or right, etc. In the top right corner of the editor there are a couple of buttons with which you can switch between a visual mode and a mode that displays the HTML tags in the text:
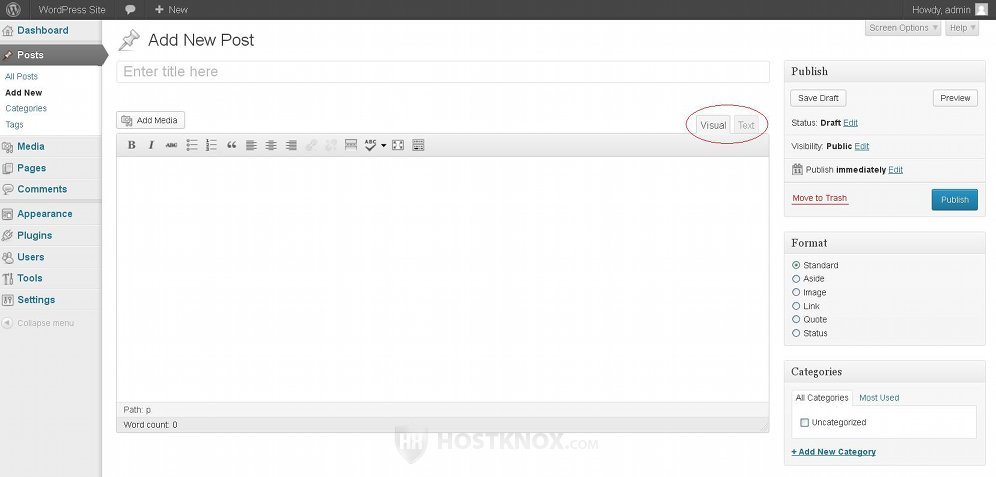
You can also insert pictures and other media files (audio and video files) using the Add Media button that's above the top left corner of the text editor. For more information check out the tutorial on how to insert images into posts in WordPress.
After you're done with the settings click on the Publish button to publish and display the post on the frontend.
In addition to the most basic things such as the title and the content of the post you can configure many other post settings. They are displayed in the different blocks (e.g. Publish, Format, Categories, etc.) on the add/edit form. For information on the settings contained in the various blocks on the add/edit form check out the tutorial on how to manage the settings on the add/edit form for posts in WordPress.