Joomla Installation Tutorial
How to install Joomla 1.6/1.7
In this tutorial we will show you how to install Joomla on your web hosting account.
Before you start the installation, you need to create a new MySQL database and add a user to it. HostKnox clients can do this from the MySQL > Databases section of the "Manage" page of their site.
After that you need to download the latest stable Joomla archive from the official Joomla website. Once you download the archive, create a new folder on your computer, for example joomla, and extract the Joomla archive in that folder.
Now you need to upload the contents of this folder to the public_html folder of your hosting account. You can upload the files using your favorite FTP client (e.g. FileZilla). If you upload the whole folder, Joomla's files will be in public_html/joomla, which means that your Joomla CMS will be accessible through www.yourdomain.com/joomla.
We, however, want Joomla to be accessible at www.yourdomain.com, so only the contents of the joomla folder need to be uploaded to public_html, not the whole folder itself.
Now that you have created a database, added a user to it and uploaded the Joomla files, it is time to start the Joomla installation. To do this, open www.yourdomain.com in your browser. You will be asked to choose the language to use during the Joomla installation:
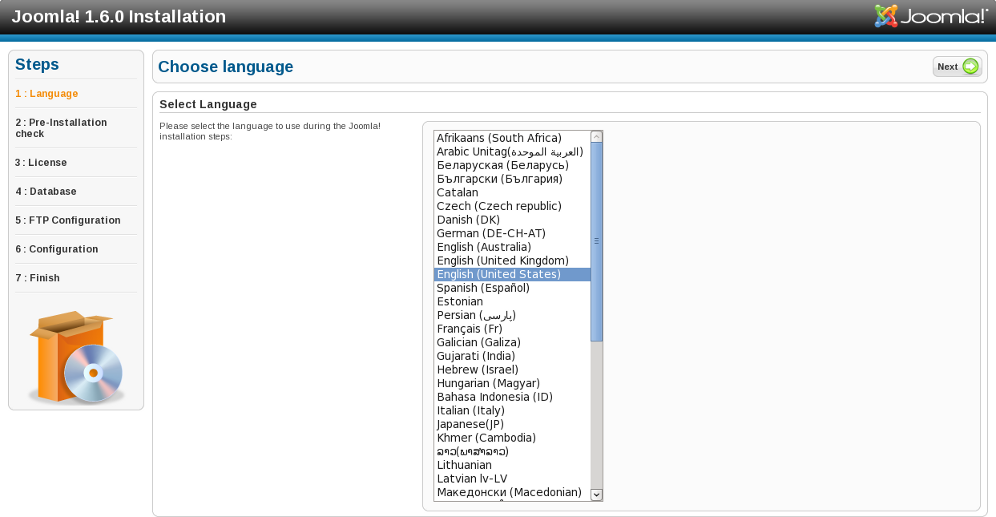
Select the language you prefer and click the Next button at the top right of the screen to proceed. The next page will check whether your hosting server meets all of Joomla's requirements. All HostKnox servers meet the requirements for Joomla, so if you are installing Joomla on one of our servers, all requirements will be met and even the recommended settings will be marked in green:
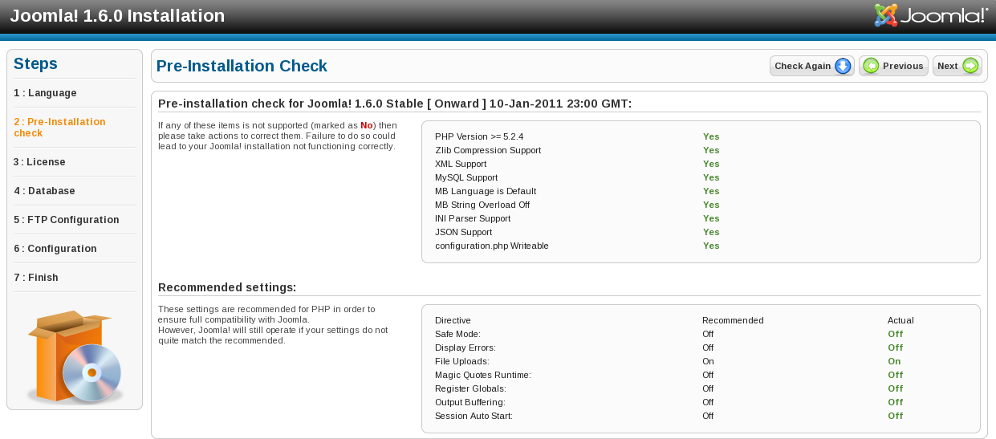
Click Next to go to the next page which is about Joomla's license:
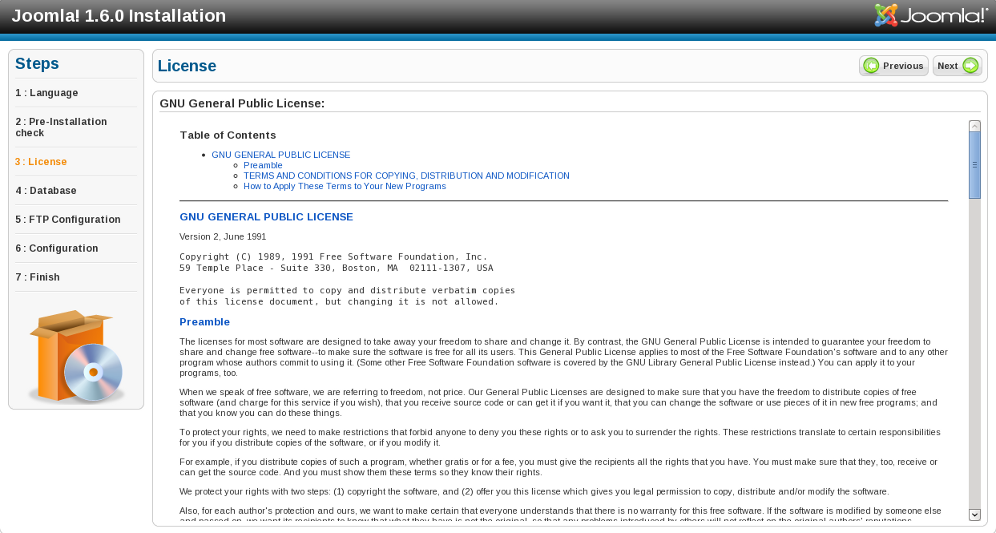
Read the GNU General Public License and then click Next to proceed. On the next page you will have to fill in the database settings:
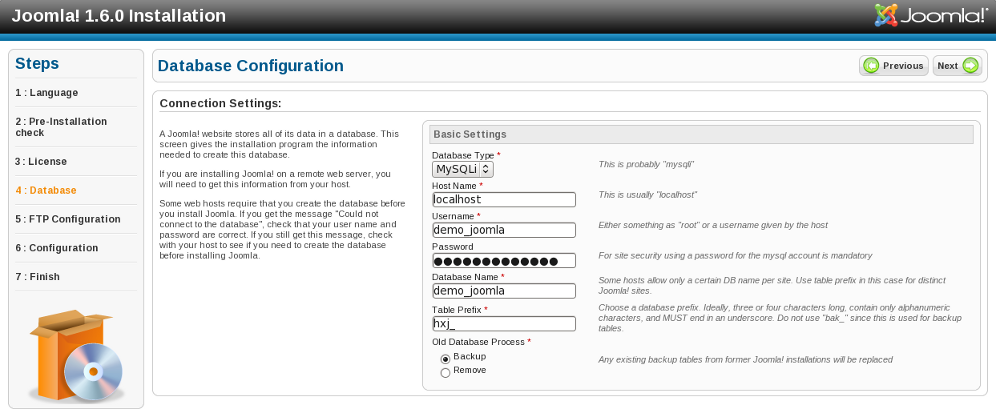
Let's go through each of the settings here:
- Database Type - here you can choose from MySQL and MySQLi, depending on what your server supports; MySQLi is the default and recommended setting
- Host Name - the MySQL server name; this is almost always localhost
- Username - the MySQL user you created earlier; in our case this is demo_joomla
- Password - the password for the MySQL user
- Database Name - the MySQL database you created earlier; in our case demo_joomla
- Table Prefix - a prefix for the database tables; by default this is jos_, but it is strongly recommended that you change it for security reasons; in our case we have changed it to hxj_
- Old Database Process - defines what should be done with any existing database tables; if set to Backup, any existing database tables will be replaced, keeping the old ones with a different prefix (bak_); if set to Remove, any existing tables will be removed
When you are ready with the database configuration, click Next to proceed. You will be taken to the FTP configuration page:
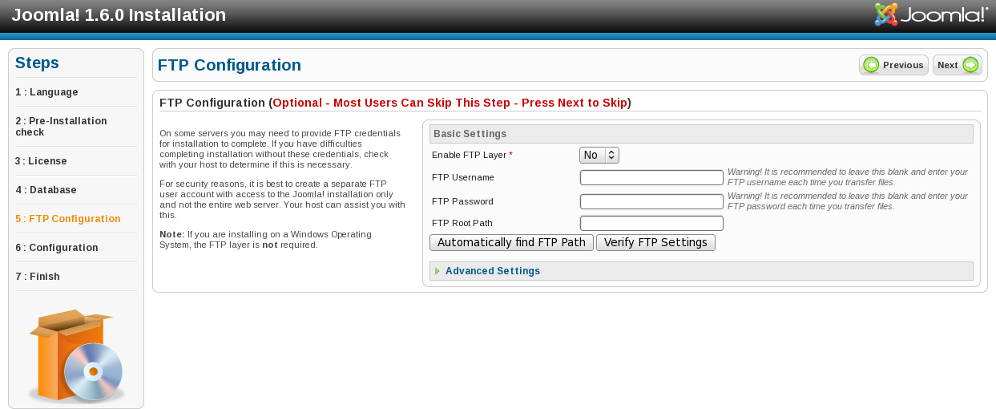
As the red notice on this page says, this is an optional step and most users can skip it. The Joomla installation can be completed without enabling the FTP layer, so you can safely skip this step and click Next to proceed to the next page - Main Configuration:
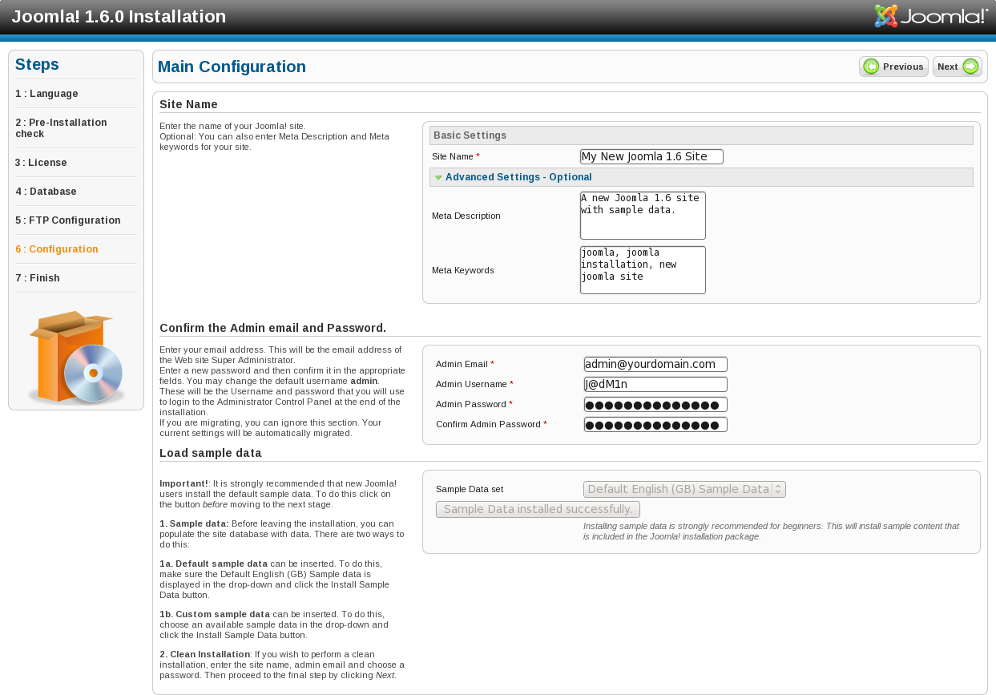
This page contains the main settings for your new Joomla site. Let's review the settings one by one:
- Site Name - the name for your site, in our case My New Joomla 1.6 Site
- Advanced Settings - Optional - if you click this, you will be given the option to define two additional settings - Meta Description and Meta Keywords
- Admin Email - the email address that will be used by the Joomla admin user
- Admin Username - the admin username for managing your Joomla; do not, under any circumstances, set this to simply admin; this would significantly decrease the security of your Joomla site; it is recommended that you set a complex admin username such as J@dM1n as we have done
- Admin Password - the password for your admin user; make sure you set a complex password including small and capital letters, numbers and special characters; do not set a simple dictionary word as your password; commonly used combinations such as qwerty are also out of the question
- Confirm Admin Password - type the above password again for confirmation
- Sample Data - the sample data contains sample content such as menu items and articles that will help beginners get used to Joomla quicker; click Install Sample Data to install it; in our case we have already installed the sample data
When you are ready to proceed, click Next. You will be taken to the final page of the installation. Congratulations, your Joomla 1.6 has been installed:
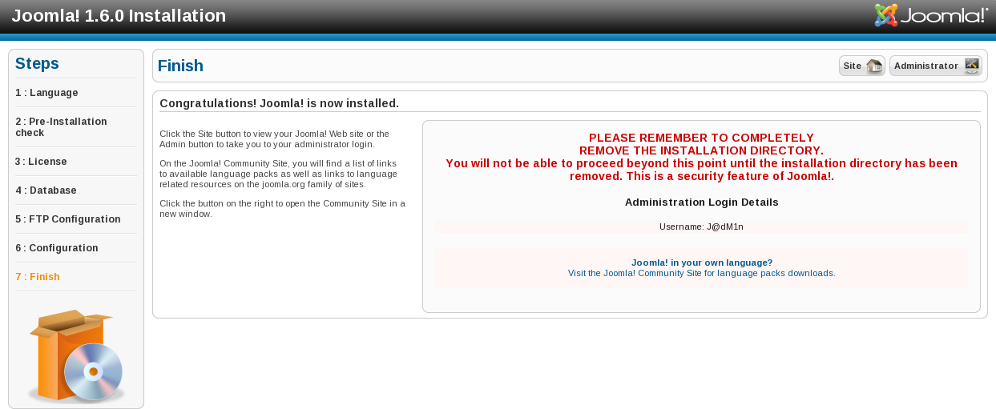
The last thing you should do before you can visit your newly-installed Joomla is to delete the Joomla installation directory. If you have installed Joomla in your public_html folder, this means that you need to delete public_html/installation. The easiest way to do this is with your favorite FTP client (e.g. FileZilla).
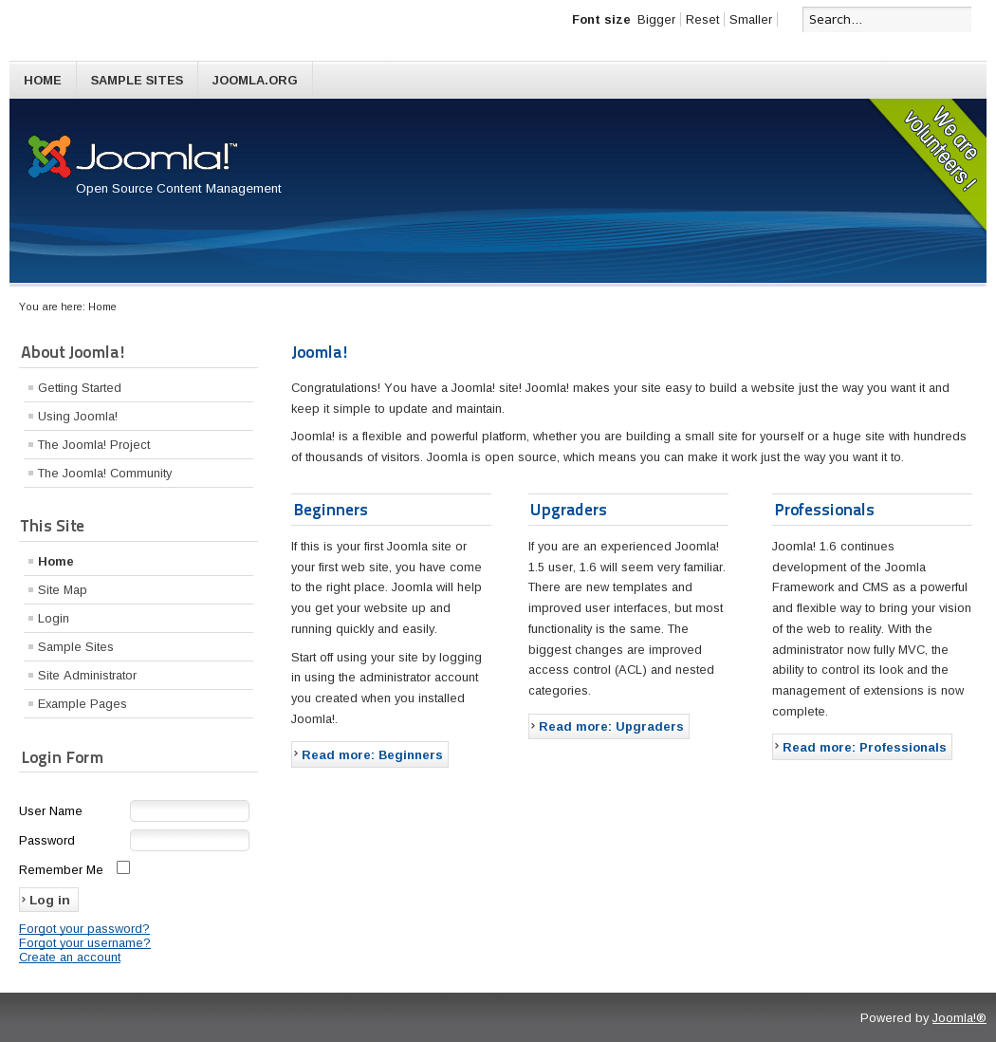
Once you delete the installation directory, you can finally check your site by following the Site link at the top right of the screen. Clicking the Site link will take you to your site's frontend at www.yourdomain.com, while clicking the Administrator link will take you to Joomla's admin panel at www.yourdomain.com/administrator. Let's click Site and see how your new Joomla site looks like: