Joomla Articles Tutorial
How to create and edit articles in Joomla
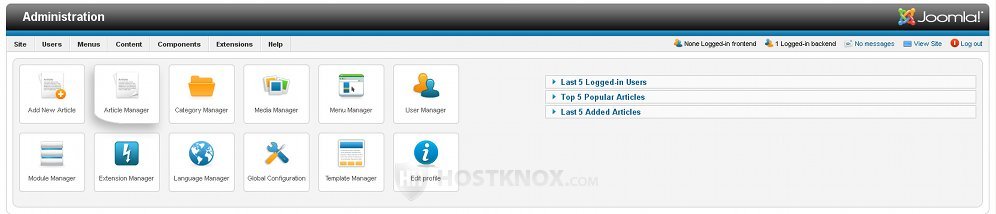
Creating and editing articles is done through the Article Manager of your site's administration panel. After logging in to the backend of your site click on the Article Manager button:
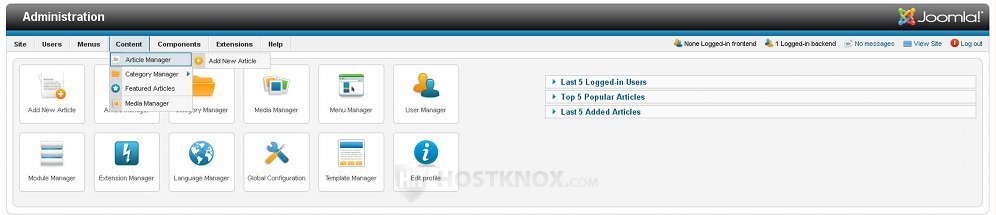
Or go to the Content menu just above it and select Article Manager:
Once the Article Manager opens, a list of all the articles will be displayed, whether published or unpublished. If you have installed the sample data during the Joomla installation, there will be many articles on how to use Joomla. By default all of them are published (indicated in the Status column with a green tick mark) which means they can be read from your site's frontend:
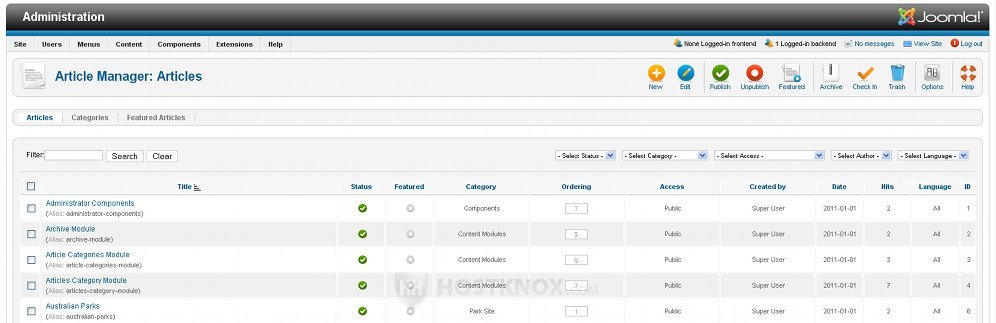
You can unpublish any of the articles by either clicking on the green icon in the Status column (it will become red), or by marking the checkboxes of one or more articles and then clicking on the Unpublish button in the upper right corner.
After you mark the checkbox of an article (or several articles) you can also use the buttons in the upper right corner to delete the article (Trash), to display its content directly on your site's home page (Featured), etc.
To edit the content of an article click on its name, or mark the checkbox in front of it and click on the Edit button in the upper right corner. Then you'll be able to use the built-in editor to change the content of the article, and also to configure various options such as the article's category, status, whether it's a featured article, etc:

The above example shows the content of one of the default Joomla articles.
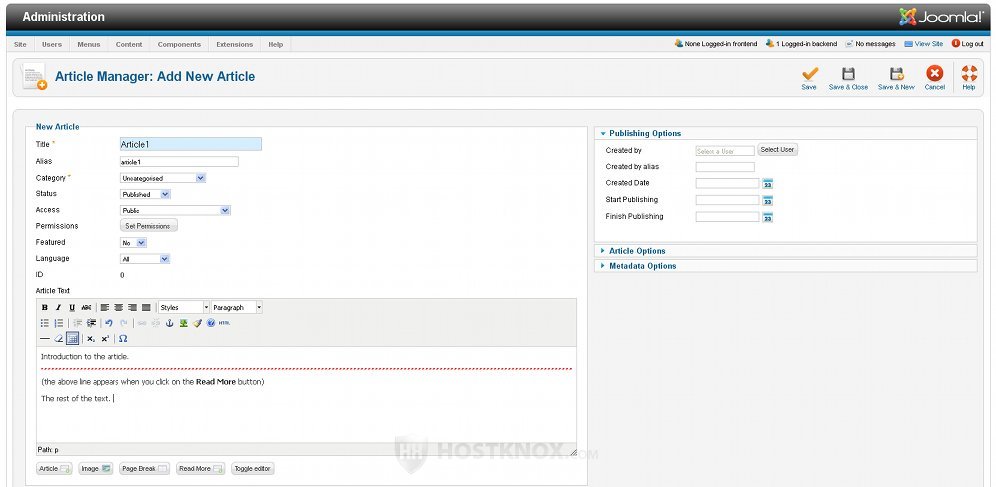
To create a new article click on the New button in the upper right corner of the Article Manager, then on the Add New Article screen type the name of the article in the Title field (here in our example we'll name it Article1). The Alias field is optional, you can choose to type something, or if you leave it blank Joomla will fill it with a default value. The alias is used for search engine friendly URLs; hover the mouse pointer over the option's name to see more details about it. Here we'll type article1. Then from the Category drop-down menu you have to choose a category to which the article will belong. In our example we'll select Uncategorized.
You can set the permissions or just leave the default ones, and choose whether the article will be a featured article (displayed on the home page). In the text editor type the text for the article. You can use the buttons right under the text area to insert links to other articles on your site, to insert images, etc. The Read More button is also very useful; when you type some text, then click on the Read More button and after that write the rest of the article, the visitors will first see the introduction, and if they want to read the rest of the article they'll have to click on the Read More link.
Don't forget to click on Save to save the article and continue editing it, or on Save & Close to save it and return to the Article Manager. After you save the article, if you need to, you can change at any time its content or the different options like the category to which it belongs, for example.
Read the next tutorials to learn how to create categories and how to make your articles and categories accessible from your site's frontend by adding them to the menus.