Adding Categories and Articles to Menus Tutorial
How to add categories and articles to the menus of your Joomla site
In this tutorial we'll expand on the information contained in the tutorials about creating articles and categories, and about changing your home page. We'll show you how to make the articles and categories accessible by adding them to some of the menus on your site, so that they are visible and visitors can browse them and read the articles.
In the examples that follow we assume you have installed the sample data, but if you haven't - the process of creating categories and articles, and adding them to menus, is the same. We also assume that you already know how to create categories and articles, and how to change the main content of the home page. If you don't, you can read the tutorials on creating Joomla articles, adding categories, and on changing the content of the home page.
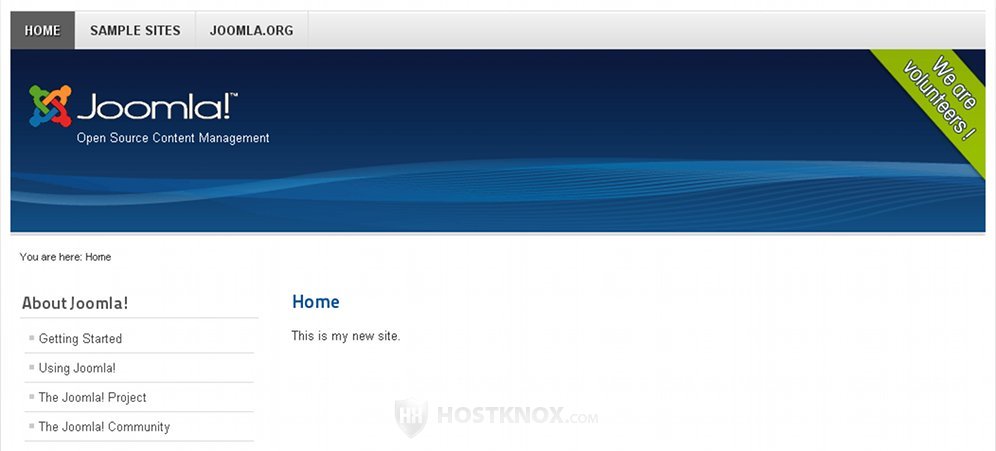
Let's say that so far the only thing we've changed on our example site is the main content of the home page. We've removed the default featured articles that come with the sample data (Joomla!, Beginners, Upgraders, Professionals), we've created a single article which we have set to display as the default home page (for more information on this see the tutorial on changing the Joomla home page):
Now we'll create a new category with two subcategories, one containing two articles and the other containing one. We'll create a separate article and add it together with the category (containing the subcategories and articles) to the main menu (This Site). We will also add a separate item to the top menu which will display the content of the newly created parent category.
The first thing we need to do is create the categories. So, we log in to the site's backend (admin panel) and go to the Category Manager. We create the parent category and name it New Category1. We leave the Parent option to No parent because this will be a separate category with subcategories of its own.
Then we create the two subcategories in the same way. We'll name them New Category2 and New Category3. The only thing we have to change in the settings is that we need to select from the Parent drop-down menu the category we've decided to use as a parent category, in this case New Category1. To read more about this visit the tutorial on creating categories and subcategories. There you'll find detailed information with examples on how to create exactly the same set of categories.
Next, we'll create the four articles. Three for the subcategories and one will be a separate article which we'll put as a separate item in the main menu. To do this we have to go to the backend's Article Manager. We'll name the first article Article1 and since we want it to be in the first subcategory (New Category2) we'll select from the Category drop-down menu New Category2:

When we're done with the settings we click on Save & New and we do the same to create the second article (Article2). After that we create the third article (Article3). We only change the category to New Category3 because we want it to appear in the second subcategory.
After that we create the fourth article. We'll name it About Us and we'll use it to give some additional information about the site and the people creating it. And because we want it to appear as a separate page with its own position in the main menu we'll select from the Category drop-down menu Uncategorized. It's not really necessary to mark it as Uncategorized, you can display articles as separate menu items even if they belong to some other category. It's just more convenient and makes more sense.
Now that we have the categories with the articles in them we will add the category New Category1 with the subcategories (and the articles already in them) to the main menu (This Site). To do this we go to Menus>Main Menu:
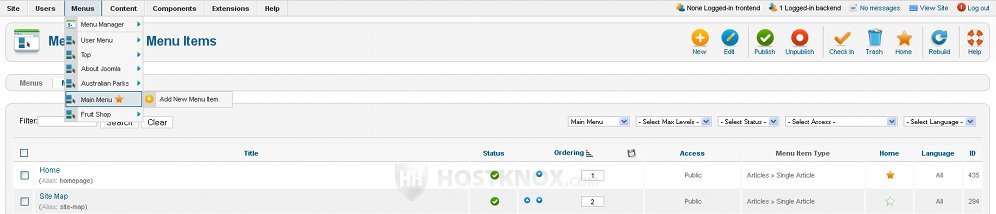
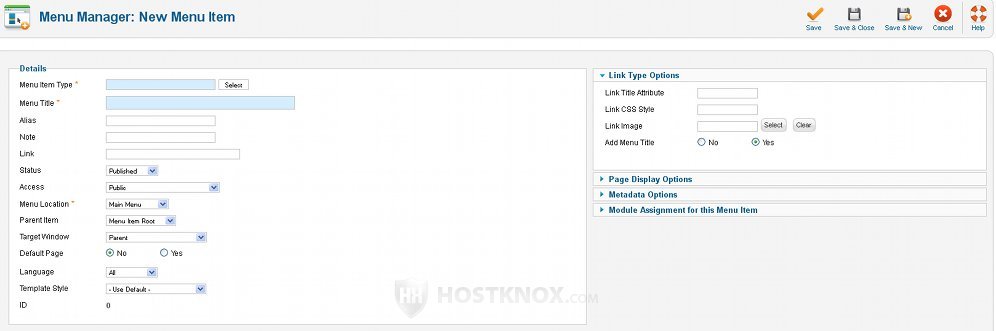
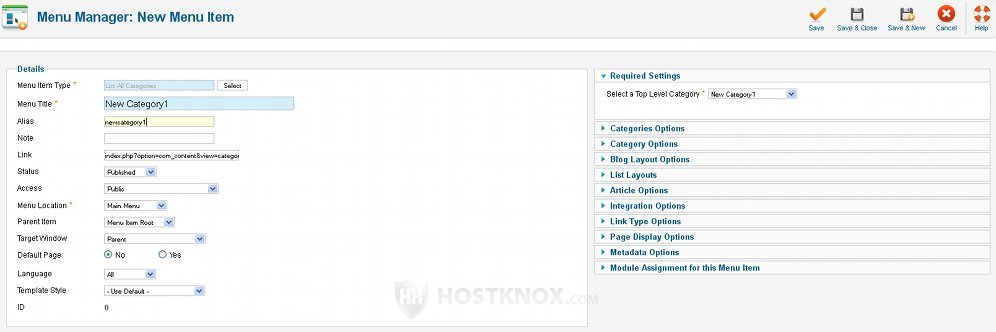
Then we click on the New button in the upper right corner to add the new category to the menu. On the New Menu Item screen first we click on the Select button next to the Menu Item Type field:
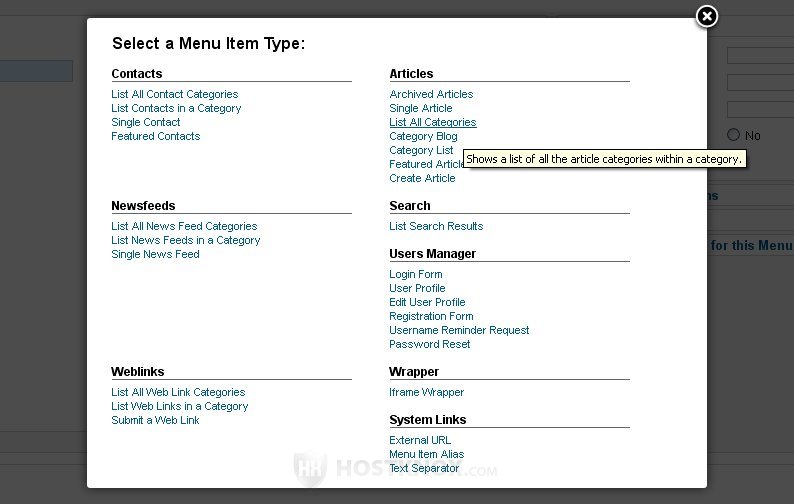
In the window that opens we click on List All Categories because we are adding a parent category with subcategories in it:
When we select the menu item type the window will close. Then we just need to type the name in the Menu Title field (New Category1) and optionally the alias. In the Required Settings panel we select the top level category to be the same as the parent category (New Category1) we are adding to the main menu at the moment.
Otherwise, if we don't do it, when we click on New Category1 in our frontend's main menu, the content of New Category1 (the subcategories) won't be displayed. Instead we'll see the default sample data. When we set everything we click on Save & Close to save the menu item.
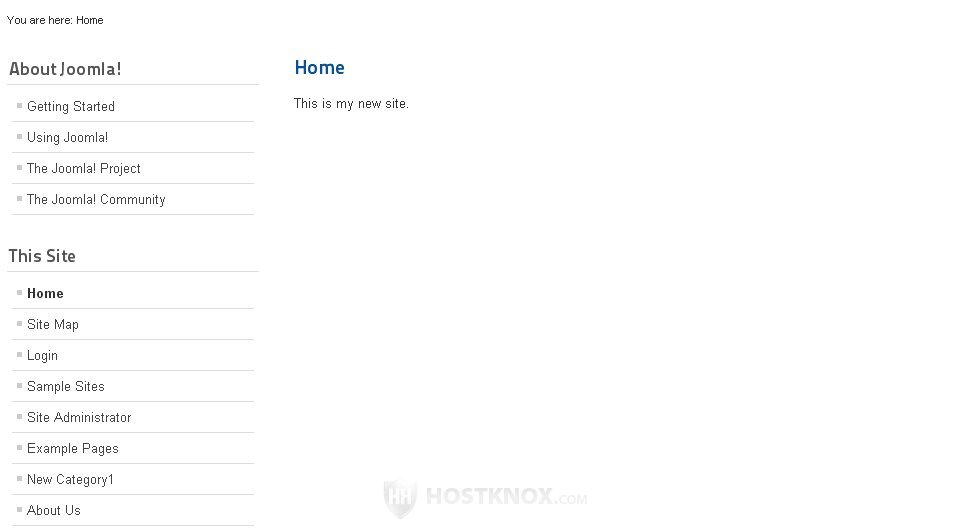
Now if we refresh our site's frontend, we'll see the New Category1 item added to the main menu. If we click on it, the subcategories with the articles in them will be displayed:
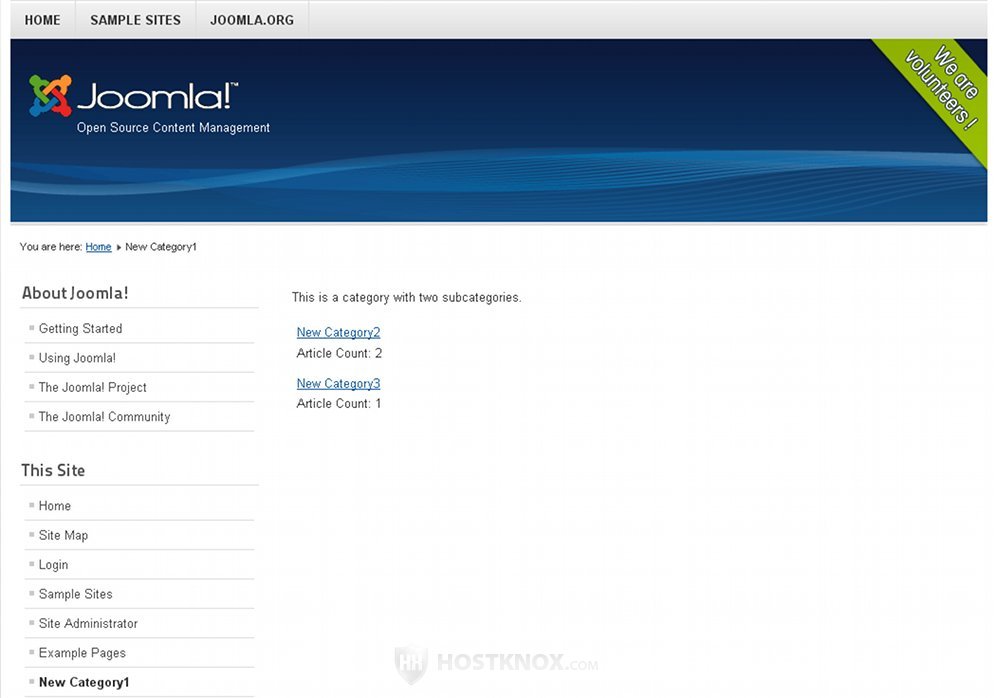
Even if we don't add the subcategories and articles as items in the backend's Main Menu Manager, they will be displayed on the frontend because we have created the structure of parent category, subcategories and articles from the Category and Article Managers, and we have added the parent category itself to the main menu.
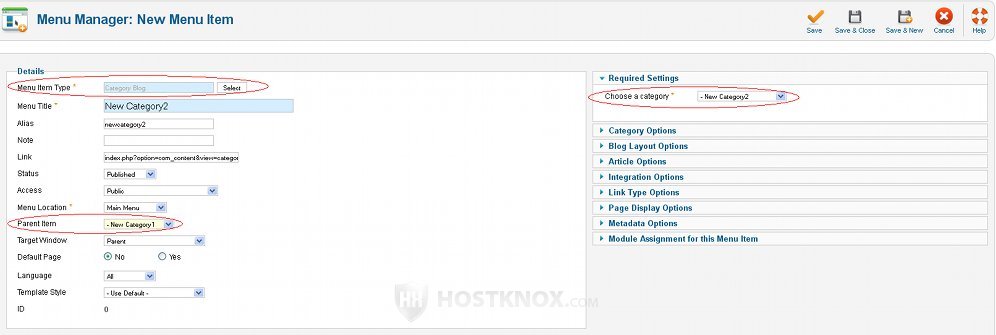
For the sake of clarity we could add the two subcategories and the articles to the Main Menu Manager, so that we can see the whole structure there and know what's inside the parent category. It's done in the same way as adding the parent category (New Category1), the difference is that for the subcategories containing the articles we have to select for Menu Item Type either Category Blog or Category List.
If we select Category Blog the articles inside the subcategory will be displayed on the site's frontend in a column with short introductions. If we select Category List only the names of the articles will be displayed in a table; when we click on the name the whole article will be shown.
Also, from the Parent item drop-down menu we have to select the parent category (New Category1), otherwise if we leave the default Menu Item Root, the subcategories themselves will be displayed as separate items in the frontend's main menu, and we don't want that. From the Required Settings we have to choose to display the content of the same category we are adding at the moment (in our example first New Category2, then New Category3):
After the subcategories, we add the articles in the same way. The only difference is that for Menu Item Type we select Single Article. Then in the Required Settings panel we select the same article we're adding at the moment, and from the Parent item drop-down menu we choose the appropriate category to which the article belongs. When we are done we can see the structure in the Menu Manager for the main menu:
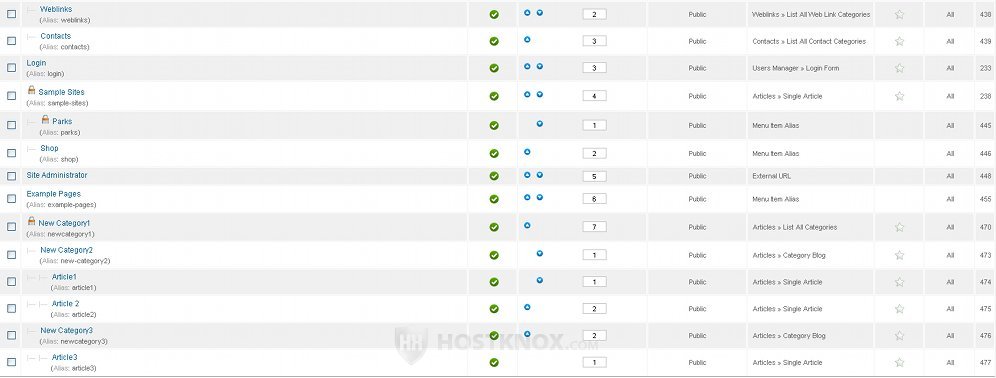
Remember that if we do everything as described above this won't make any difference to the frontend. Adding just the parent category (with the already created structure in it) as a separate item to the main menu will produce the same result on the frontend. We did this to see the whole structure in the backend's Menu Manager.
Now we'll add the About Us article we created earlier as a separate item in the main menu. Remember that we chose the Uncategorized category for it because we want it to appear as separate item. It's added from the backend's Menu Manager in the same way as the other articles. The only difference is that from the Parent item drop-down menu we don't select a parent category but we leave the default Menu Item Root.
Finally we add the parent New Category1 as an item to the top menu. It's done in exactly the same way as for the main menu. And we refresh the site's frontend to see the results:
The above are, of course, hypothetical examples to help you get started. You have the options to do many other things.
Read the next tutorial to see how to remove default menu items and whole menus from your site's frontend.